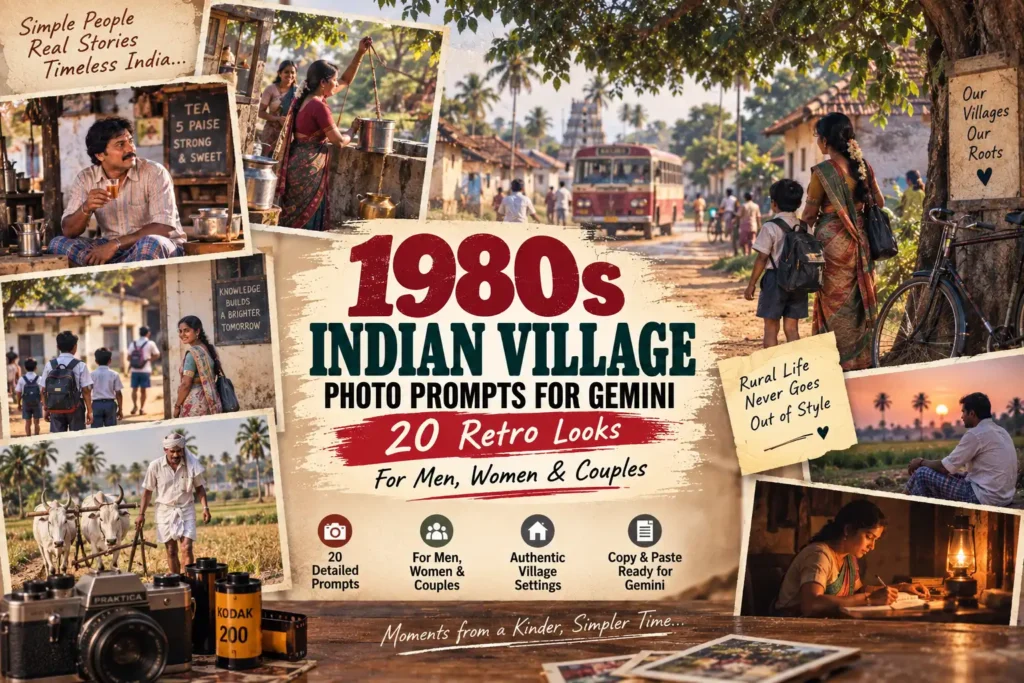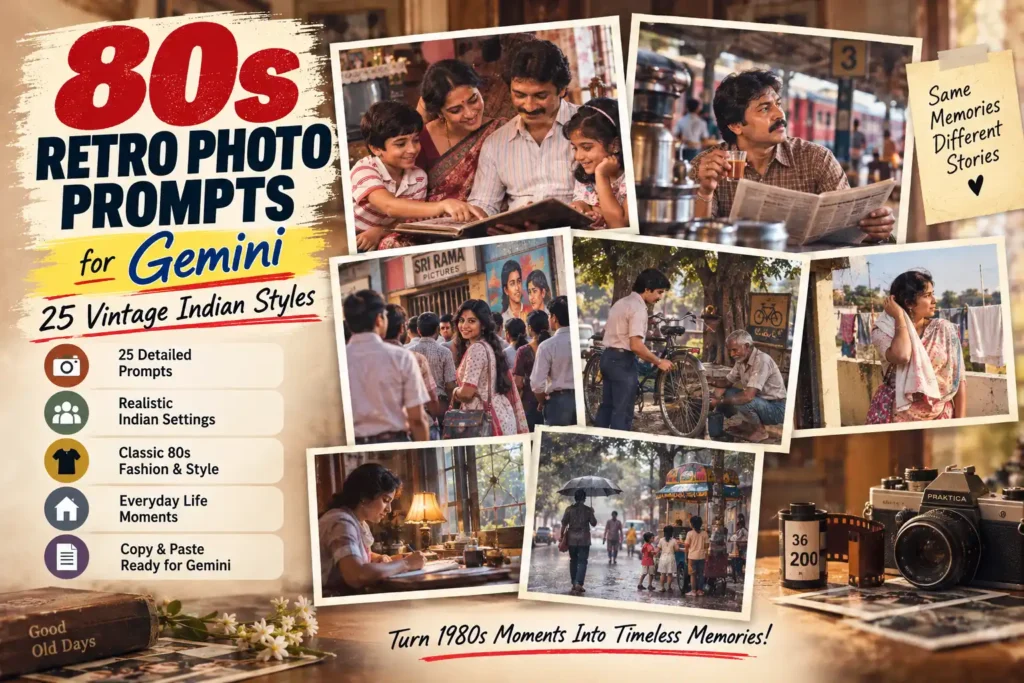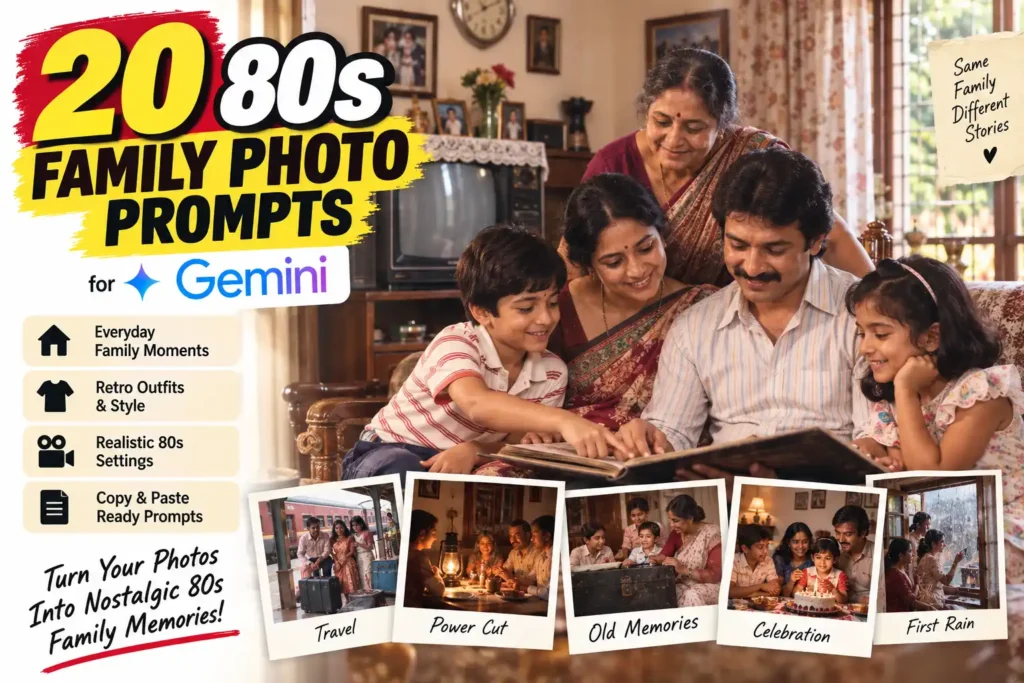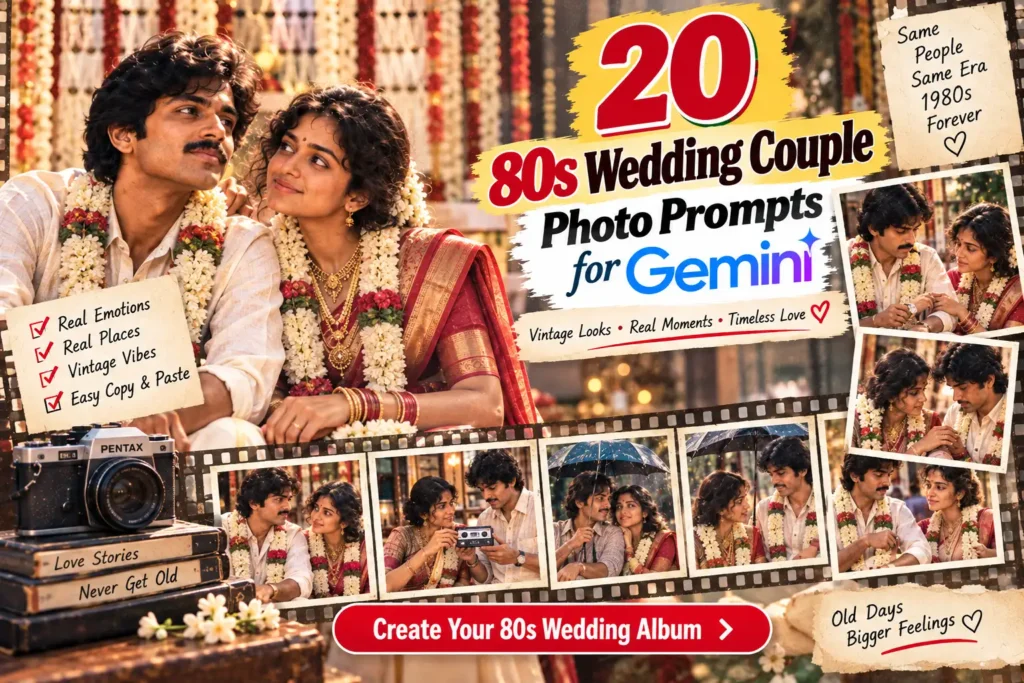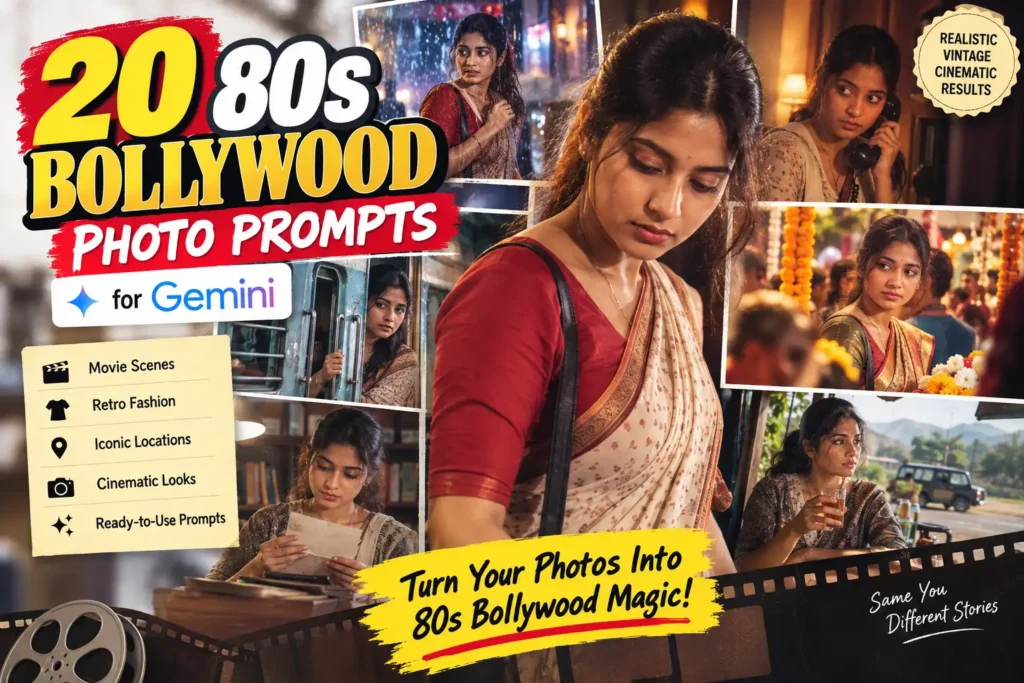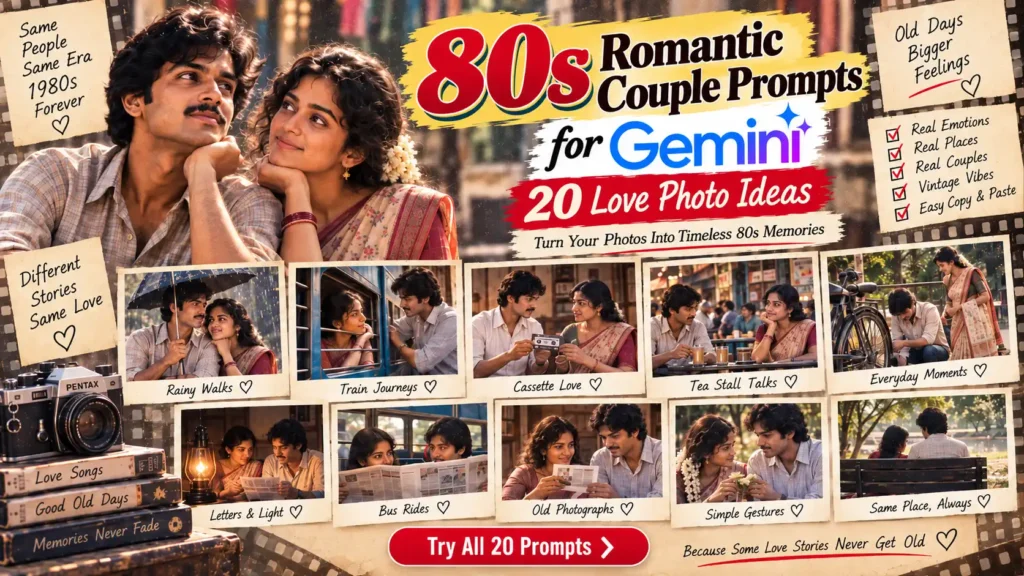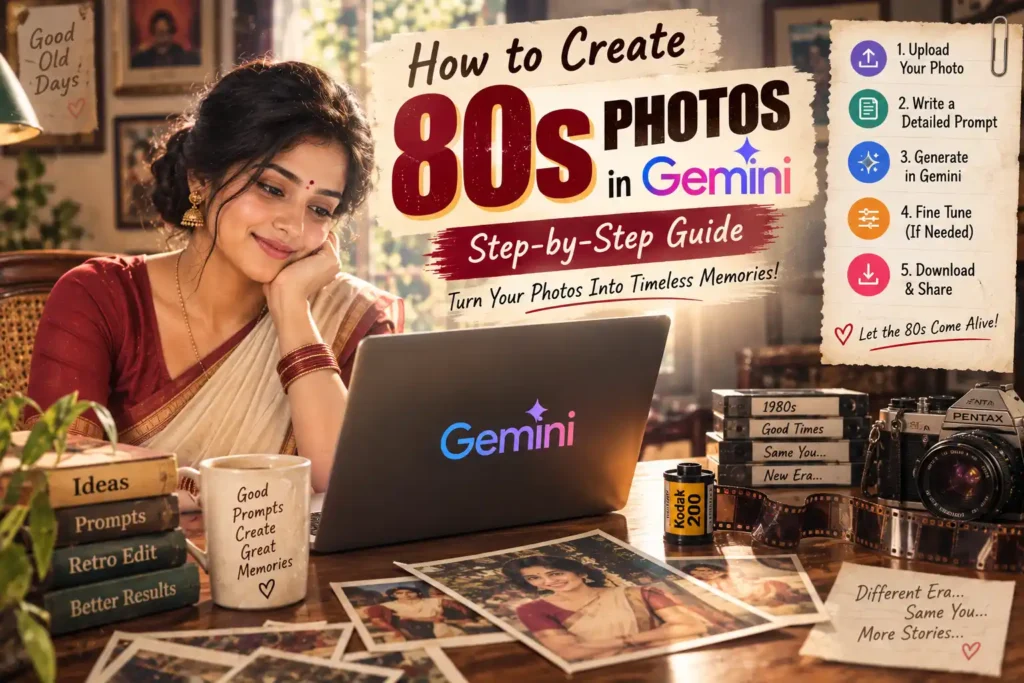
Creating an 80s-style photo in Gemini is easy, but creating one that actually looks like a photograph taken in the 1980s requires more than adding words like “retro,” “vintage,” or “80s look” to a prompt.
The hairstyle, clothes, location, lighting, camera characteristics, colors and even small imperfections need to belong to the same period. This guide shows you how to create a realistic 80s Indian photo in Gemini while keeping your face recognizable.
Table of Contents
Step 1: Choose the Right Photo First
Start with a clear photo of yourself. A front-facing or slightly turned portrait usually gives Gemini better information about your facial features.
For better results, choose a photo with:
- A clearly visible face
- Natural lighting
- No heavy beauty filter
- No sunglasses covering the eyes
- No hair covering most of the face
- Good image quality
- Only the people you actually want in the final image
Useful trick: Your source photo does not need to look vintage. In fact, a clean modern portrait can be useful because Gemini gets a clearer facial reference. Let the prompt create the vintage characteristics instead of trying to provide them through a heavily filtered source image.
Step 2: Open Gemini and Upload Your Photo
Open Gemini and start an image-editing conversation. Upload the photo you want to transform.
Gemini can edit uploaded images, and its current image tools are designed to maintain a person’s likeness while changing elements such as clothing, setting and visual style.
After uploading your photo, don’t simply type:
Make this photo look like the 80s.
That instruction is too broad. Gemini has to decide almost everything by itself, so the result may look like a modern photograph with a vintage filter rather than a genuine 1980s image.
Step 3: Lock Your Face Before Describing the Style
Put identity instructions near the beginning of your prompt.
For example:
Use my uploaded photo as the exact facial identity reference.

Preserve my recognizable facial features, including my face shape, eyes, nose, lips, skin tone and natural age appearance.

Do not replace my face with a generic model or actor.
This is especially useful when your prompt later contains many instructions about hairstyles, clothing and cinematic styling.
Step 4: Don’t Ask for an “80s Look” — Build an 80s Scene
A convincing vintage image is usually created from several coordinated details rather than one style keyword.
Think of your prompt as six layers:
PERSON
+
CLOTHING
+
HAIR & ACCESSORIES
+
>LOCATION
+
LIGHTING
+
CAMERA / FILM CHARACTER
For example, instead of:
Make me look like an 80s Indian hero.
try:
Transform me into an Indian man photographed in the mid-1980s.

Dress me in a cream full-sleeve shirt tucked into high-waisted brown trousers with a vintage wristwatch.

Give me thick naturally styled 1980s hair and a neat moustache.

Place me beside a vintage Ambassador car on a quiet South Indian road during late-afternoon sunlight.

Capture the scene as realistic 35mm analog photography with warm slightly faded colors, fine film grain, gentle highlight bloom and subtle vintage lens softness.
The second prompt tells Gemini what should actually exist inside the photograph.
Step 5: Use a Specific Time Window
Here is a small technique that can improve prompt precision: don’t always say only “80s.”
Try phrases such as:
photographed around 1983
or:
late-1980s Indian street photography
or:
a restored 35mm Indian film frame from approximately 1986
This encourages the entire visual description to revolve around a narrower period rather than treating the 1980s as a generic aesthetic.
Step 6: Describe What Makes an Old Photo Look Old
Many AI images fail here. They contain vintage clothes but still have the sharpness, skin processing and dynamic range of a modern digital camera.
Instead of asking only for “vintage filter,” describe photographic characteristics:
fine organic 35mm film grain
slightly faded colors
gentle highlight halation
soft vintage lens rendering
natural contrast
slightly lifted blacks
subtle color variation
realistic skin texture
minor photographic imperfections
You do not need every phrase in every prompt. Pick the characteristics that suit the scene.
Step 7: Remove the “AI Cleanliness”
This is one of the most useful techniques for believable retro images.
AI-generated photographs can look too perfect: flawless skin, perfectly clean clothes, perfect lighting, perfectly symmetrical backgrounds and extreme sharpness everywhere.
A real old photograph usually contains small imperfections.
Add instructions such as:
Preserve realistic skin pores, individual hair strands, natural fabric wrinkles, slight lens softness, subtle film grain and naturally imperfect lighting.

Avoid plastic skin, excessive facial smoothing, modern HDR and overly perfect digital sharpness.
The goal is not to make the image low quality. The goal is to make its photographic character believable.
Step 8: Make the Background Pass the “Time-Travel Test”
Before accepting your image, look behind the person.
A beautiful 80s saree portrait can immediately lose its period feel if Gemini puts a modern LED board, recent car, smartphone, contemporary streetlight or modern building in the background.
Tell Gemini what belongs in the environment and what does not.
For an Indian street scene, for example:
Include vintage scooters, roadster bicycles, Ambassador cars, old storefronts, period-correct street lamps and pedestrians wearing 1980s clothing.

No smartphones, LED signs, modern vehicles, contemporary advertisements or modern architecture.
This background check is one of the easiest ways to separate a convincing period photograph from a simple retro costume image.
Step 9: Match the Light to the Story
Don’t use “cinematic lighting” as your only lighting instruction. Tell Gemini where the light comes from.
Examples:
Warm late-afternoon sunlight filtering through tree leaves.
A single tungsten bulb illuminating the face while cool monsoon daylight surrounds the bus stop.
Golden sunrise breaking through hill-station mist and creating rim light around the hair.
Warm oil-lamp light mixed with soft evening light inside a temple corridor.
Directional lighting gives the image a physical environment instead of a generic cinematic glow.
Step 10: Give the Person Something to Do
Another common AI-photo problem is the “standing and looking at camera” pose.
For a more believable photograph, create a small action:
adjusting jasmine flowers
holding an old railway ticket
walking beside a bicycle
looking toward an approaching bus
holding the saree pallu in the wind
opening an old car door
carrying college books
buying flowers at a market
looking through a train window
A small action gives the image a reason to exist. It starts looking like a captured moment instead of an AI portrait.
Step 11: Add a Micro-Story
This is one of the strongest ways to make an 80s photo memorable.
Don’t describe only what the person looks like. Describe what seems to be happening.
For example:
She is standing at an old railway platform and looking toward the tracks as though she is waiting for someone important. The train is visible far away through the evening mist.
Or:
He has just stopped his bicycle after hearing someone call his name and turns back toward the camera with a spontaneous smile.
The viewer may never know the complete story, but the image suggests that something happened immediately before or after the captured frame.
Step 12: Generate the First Version
Once your prompt is ready, submit it and inspect the result.
Do not judge only whether the picture is beautiful. Check four separate things:
- Does the face still look like you?
- Does the clothing genuinely fit the period?
- Does the background contain modern objects?
- Does the photograph look analog, or simply digitally filtered?
If three elements are excellent and one is wrong, you usually do not need to rewrite the entire prompt.
Step 13: Use Surgical Edits Instead of Starting Again
Gemini supports conversational and localized image editing, so refinement can be more effective than repeatedly generating the entire concept from scratch.
If you like the image but the saree is wrong, try:
Keep the face, pose, hairstyle, lighting, camera angle and background unchanged. Change only the saree to a deep-red 1980s Kanchipuram silk saree with an antique-gold border.
If the background looks modern:
Keep the person exactly unchanged. Replace only the modern background elements with period-correct Indian details from approximately 1985. Remove modern vehicles, LED signage and contemporary objects.
If the face has changed:
Keep the generated scene, clothing, pose, lighting and composition. Restore the facial identity more closely to my uploaded reference photo. Do not redesign or beautify the face.
This “change only X, preserve Y” method gives Gemini a much narrower editing target.
Step 14: Use the Identity–Scene–Texture Method
For complicated transformations, mentally divide the prompt into three jobs.
IDENTITY
Who must remain the same?

SCENE
What should change around the person?

TEXTURE
What photographic characteristics make the result believable?
Example:
IDENTITY:
Preserve my uploaded facial identity.

SCENE:
Transform the clothing, hairstyle, car and street into South India around 1985.

TEXTURE:
Render it as genuine 35mm analog photography with realistic skin, organic grain, gentle halation and slightly faded film colors.
This structure helps prevent a common problem where an elaborate style description overwhelms the identity requirement.
Step 15: For Couples, Lock Both Identities Separately
When transforming a couple photo, explicitly tell Gemini that both people matter.
Use our uploaded couple photo as the identity reference for BOTH people.

Preserve the man's facial identity and the woman's facial identity independently.

Do not merge facial characteristics between them and do not replace either person with a generic model.
Then describe their clothing separately:
MAN:
Cream shirt, high-waisted trousers, vintage watch and thick 80s hairstyle.

WOMAN:
Deep-red saree, traditional jewellery, jasmine braid and small bindi.
This is cleaner than mixing both people’s characteristics throughout one long paragraph.
Step 16: Don’t Regenerate a Good Face Just to Fix a Small Detail
If Gemini gives you a version where the face is exceptionally accurate, treat that result as valuable.
Instead of generating the whole image again because of one wrong accessory or background object, continue editing that image and explicitly preserve the successful elements.
For example:
The face is correct. Preserve the face exactly as it is.

Keep the pose and lighting unchanged.

Only remove the modern car in the background and replace it with a period-correct Ambassador car.
This reduces the number of variables Gemini needs to reinterpret during the next edit.
Step 17: Use Multiple References Only When They Have Clear Jobs
Gemini can work with multiple uploaded images, but more references do not automatically mean a better result. Google specifically supports combining multiple images and maintaining character consistency across creations.
If you use multiple references, assign each one a purpose:
Image 1 = facial identity reference
Image 2 = saree / clothing reference
Image 3 = desired location or visual mood

Use Image 1 only for my facial identity.
Use Image 2 as the clothing reference.
Use Image 3 only as inspiration for the environment and lighting.
This is usually clearer than simply uploading several images and asking Gemini to combine them.
Step 18: The “Wrong Decade” Check
After generation, ask yourself whether the picture could accidentally be from the 1970s, 1990s or today.
Check:
- Hair silhouette
- Shirt collar and trouser cut
- Saree/blouse styling
- Jewellery
- Vehicles
- Architecture
- Street signs
- Furniture
- Lighting sources
- Camera rendering
A strong period image is created when these clues point toward roughly the same era.
Step 19: Use a Final Realism Pass
Once you are happy with the composition, you can make one final targeted request:
Keep the identity, clothing, pose, composition and background unchanged.

Make only a final realism pass.

Improve natural skin texture, individual hair strands, realistic fabric folds, physically believable shadows and subtle environmental details.

Reduce artificial facial smoothing, excessive digital sharpness and modern HDR.

Preserve the authentic 1980s 35mm film character with fine organic grain, gentle highlight halation and natural vintage color response.
The important phrase here is “keep … unchanged.” You are asking for refinement, not another interpretation of the scene.
Step 20: Download the Best Version
Once you are satisfied, open the generated image and save the full-size version available to your account.
Do not assume that the final generation is automatically the best one. Compare your previous versions for facial accuracy, hand quality, clothing authenticity, background accuracy and overall emotional impact.
Copy & Paste 80s Photo Master Prompt
Use my uploaded photo as the exact facial identity reference.

Preserve my recognizable facial features, face shape, eyes, nose, lips, skin tone and natural age appearance. Do not replace my face with a generic model and do not excessively beautify or smooth my face.

Transform me into a person photographed in India during the mid-1980s.

Create authentic period-correct clothing, hairstyle, accessories and surroundings.

Place me in a believable Indian 1980s environment with period-correct architecture, vehicles, furniture and background details.

Give me a natural action rather than a stiff fashion-model pose. Make the scene feel like a real moment with something happening immediately before or after the photograph was taken.

Use physically believable directional lighting appropriate to the location and time of day.

Capture the scene as genuine 35mm analog photography from approximately 1985.

Use realistic Indian skin texture, individual hair strands, natural fabric wrinkles, fine organic film grain, slightly faded colors, gentle highlight halation, subtle vintage lens softness, natural contrast and minor photographic imperfections.

Avoid excessive digital sharpness, modern HDR, plastic skin and artificial beauty-filter appearance.

Make every visible object pass the 1980s time-period test.

The final image should look like a real photograph discovered in an old family album or a beautifully restored frame from an authentic 1980s Indian film — not a modern photograph with a retro filter.

No smartphones, LED signs, modern vehicles, contemporary fashion, modern architecture, text, watermark, duplicate people, extra limbs, distorted hands or extra fingers.
Why Your 80s Gemini Photo May Still Look Fake
If your result still looks artificial, the problem may not be the prompt length. Usually one visual layer is contradicting another.
A vintage saree with modern beauty lighting still looks modern. An Ambassador car beside a contemporary building creates mixed-period clues. Film grain added to plastic-looking skin still looks AI-generated.
The best approach is therefore not simply to add more “retro” keywords. Make the person, wardrobe, environment, lighting and photographic texture tell the same story.
Final Tip
Do not try to make every 80s photo more dramatic than the previous one. Some of the most believable results can come from ordinary moments — waiting for a bus, standing beside a bicycle, sitting on a terrace, walking home from college, buying flowers, or looking through a train window.
The strongest retro image is not necessarily the one with the most vintage effects. It is the one where the face, clothing, environment, objects, light, emotion, and camera character all appear to belong to the same moment in time.
Some more you might like